Ice Cream Science and Backyard Nature Explorer Activities for Kids
Discover fun summer science activities for grades 3 to 8 with homemade ice cream experiments and backyard nature exploration that spark curiosity and confidence.
Lindsay Carlson
Mom of 3 in Dallas, TX
Summer is the perfect season for curiosity to shine, yet finding science projects that feel fresh and doable can be challenging. At Kaizly we turn everyday moments into confidence-building adventures tailored to your child's interests. Below are two kid-approved activities that blend discovery with real life fun for grades 3 to 8:
Homemade Ice Cream Science Experiment – shake up dessert while learning how salt and ice create a super cold bath that turns liquid cream into sweet science
Backyard Nature Explorers – turn a local green space into a living lab with a journal and scavenger hunt that reveal the hidden wonders of plants and creatures
Quick pick guide for busy parents
| Ice Cream Science | Nature Explorers | |
|---|---|---|
| Energy level | High energy shaking and quick reward | Calm observation and gentle movement |
| Prep time | Five minutes to gather kitchen staples | Ten minutes to craft a journal and list |
| Mess factor | Cold drips, easy wipe up | Bits of dirt or leaves, low cleanup |
| Learning focus | States of matter, freezing point, experimentation | Observation, classification, eco awareness |
| Parent role | Supervise shaking, discuss results | Guide questions, join the walk |
Let your child's mood steer the choice. If they are eager to move and taste success, grab the ice cream bags. If they need a peaceful outdoor reset, pick up the journal and explore.
Activity 1: Homemade Ice Cream Science Experiment
Overview: Combine science and dessert by making ice cream in a bag! This classic summer science activity demonstrates how salt and ice can create a low-temperature environment that freezes milk into ice cream. Kids will learn about concepts like freezing point depression (in simpler terms: why salt makes ice colder/melt slower) and phase changes (liquid to solid), all while vigorously shaking a bag and then eating the results. It's a multi-sensory experiment: they'll feel the cold, see the liquid solidify, and of course taste the ice cream. This activity is suitable for grades 3–8 with slight variations in depth: younger kids will just marvel at making ice cream and note the basic changes, whereas older kids can be guided to measure temperatures or experiment with variables (like how much salt to use) to get a bit more analytical.
Why it works for grades 3 to 8: For third through fifth graders, this experiment is like magic, and it hooks them into scientific thinking because it starts with a question: How can we make ice cream without a freezer? They can make predictions (“Do you think shaking will turn it into ice cream? Why might salt be needed?”) and observe outcomes. It’s perfectly messy and physical for their stage. A brief burst of high-energy shaking is actually fun work for them. For middle schoolers, you can delve into the “why” more deeply, introducing terms like “freezing point” or even having them read a thermometer to record the temperature of the ice bath before and after adding salt. Kids 11–14 are ready to connect the experiment to real-world uses (for instance, discuss why people put salt on icy roads in winter, it’s the same science!). Additionally, older kids can take on leadership in this activity, measuring ingredients precisely and even researching the science beforehand to present to siblings. The reward aspect (tasty ice cream) keeps even a jaded eighth grader interested. Importantly, this experiment aligns with their need for concrete learning experiences. They literally create and consume the result, which reinforces the lesson in a memorable way.
Materials
One cup half-and-half or whole milk (for a richer treat, use half cream, half milk)
Two tablespoons sugar
Half teaspoon vanilla extract (or another flavor extract if preferred)
Six cups ice (crushed or cubed)
One-third cup salt (rock or kosher preferred, but table salt will do)
One pint-size zip-top bag and one gallon-size zip-top bag
Towel or oven mitts (to protect hands from cold)
Thermometer (optional, for measuring temperature of the ice bath, but good for helping older kids quantify the change)
Timer (optional, for timing the shaking)
Mix-ins such as chocolate chips or sprinkles (optional, for extra flavor)
Instructions (Step-by-Step)
Combine Ingredients in a Small Bag: Pour the half-and-half (or milk/cream mixture) into the small pint-size ziploc bag. Add the sugar and vanilla extract. Seal the bag tightly, squeezing out as much air as possible (excess air makes it harder to freeze and the bag might pop open). You now have a sealed bag of sweet milk, the base for your ice cream. If doing this with multiple kids, each can make their own small bag, just multiply the ingredients per bag.
Prepare the Ice-Salt Mix: In the large gallon-size Ziploc bag, put about 4 cups of ice to start (around halfway full). Sprinkle 1/3 cup of salt over the ice. Place the sealed small bag (with the mix) into the large bag on top of the ice. Then add another couple of cups of ice so that the small bag is surrounded by ice on most sides. Press out extra air from the large bag and seal it tightly.
Shake it Up: Now the fun part, wrap the bag in a towel (or you can wear mittens/oven mitts) to keep your hands from freezing, and shake, shake, shake! You’ll need to shake continuously for about 5-10 minutes. You can also gently massage or flip the bag; the goal is to keep that ice and salt moving around the little bag, freezing it evenly. You’ll notice after a few minutes that the small bag’s liquid is starting to thicken. You can make it a game: “How long does it take to freeze? Let’s guess and see!” If the ice melts a lot or it’s not freezing after 5 minutes, add more ice and a bit more salt, then continue. For older kids, this is a great time to discuss what’s happening: The ice is melting, feel the water in the big bag, is it super cold? The salt lowers the freezing point of water, meaning the ice water can get colder than 32°F (0°C), that extra-cold saltwater is what’s freezing our ice cream. They can measure the temperature with a thermometer for a mini-experiment: before adding salt vs after (they’ll see the temp drop).
Check and Enjoy: After about 7-8 minutes of good shaking, open the outer bag and take a peek at the inner bag. It should have a firmer consistency, a scoopable soft ice cream. If it’s still too liquid, seal everything up and shake for a few more minutes 5. 6. (5-6 minutes;sometimes it can take up to 10 minutes depending on the quantity and vigor of shaking). Once ready, take the small bag out. Rinse the outside of the small bag quickly with cold water (this washes off any salt that might be on the outside, so it doesn’t get into your ice cream when opening). Now open it up, voila, ice cream! You can pour it into a bowl or eat it straight from the bag (especially fun for kids: stick a spoon in and taste the sweet science). Add any desired toppings or mix-ins.
Discuss the Science: As you enjoy the treat, talk about what happened. Ask, “Why did we need salt to make the ice cream? Why not just ice?” Explain in age-appropriate terms: For younger kids: “Salt makes the ice even colder! When salt touches ice, it makes the ice melt, but in doing so it has to steal heat from around it, which made our creamy mix so cold it froze. It’s like magic, but it’s science!” For older kids: “Normally, water freezes at 32°F. Salt lowers the freezing point, so the ice-salt mixture can go below 32°F without all turning to liquid. That super-cold slush can absorb more heat from the ice cream mixture, freezing it. This process is called freezing point depression. It’s why adding salt to ice can freeze things faster. And yes, it’s the same reason salt is used on roads, it melts ice but also means the water won’t re-freeze unless it’s even colder outside.” If you take temperature readings, discuss those results (“Look, the ice water was 30°F with salt, which is why the milk could freeze, whereas plain ice water might stay at 32°F and not freeze the milk.”). Also note the physical change: liquid milk became solid ice cream, a phase change from liquid to solid. You can even point out the reverse happens when it melts while eating it. Encourage questions. Often kids ask, “Could we do it with juice to make sorbet? Could we refreeze melted ice cream?” Feel free to experiment further if you have time (juice can indeed make a yummy sorbet/slushie in a bag).
Cleanup: Have the kids help with cleanup as part of the experiment process (learning responsibility in labs is a good habit, after all!).
Developmental insight: This simple experiment hits several developmental sweet spots. Children are naturally inquisitive about how things work, and by grade 3 they can start understanding cause and effect well. Making ice cream is cause/effect in action, “I did X and Y happened.” For the younger end, it’s mostly a sensory delight and a straightforward lesson that mixing certain things can cause big changes (liquid to solid). For the older end, it provides a concrete example of an abstract concept (freezing point depression), something they might not formally learn until later, but experiencing it now gives them a reference point. Additionally, the experiment encourages patience and following steps in order, important skills for 8–14 year-olds to practice outside of school worksheets. Many kids in this range, especially around 9–12, enjoy the role of a scientist or chef; here they get to be both. You might observe them taking pride in doing the measurements or explaining the process to someone else afterward, which reinforces their learning. And let’s not forget the teamwork aspect: if siblings or friends do this together, they must coordinate (perhaps taking turns shaking) and share the reward, fostering cooperative skills. Lastly, on an emotional level, there’s a sense of empowerment in creating something from scratch, “I made ice cream!”, which can inspire further exploration in science and cooking. Who knows, today’s ice cream experiment could spark tomorrow’s interest in chemistry class.
Online Resources: The procedure for Ice Cream in a Bag is widely available on science websites and often used in school science camps. For additional guidance, you can refer to Science Buddies article on this experiment, which provides background science and even experimental variations (e.g., comparing different salt types). If your child gets really into it, consider showing them a short YouTube video of the process - sometimes seeing others do it reinforces what they learned. For more kitchen science fun, look up 'edible science experiments' – making butter by shaking cream in a jar, solar oven s'mores (using the sun's energy), etc., which are all great for summer and keep the scientific curiosity cooking. Scientific American's 'Bring Science Home' also provides many fun experiments to try!
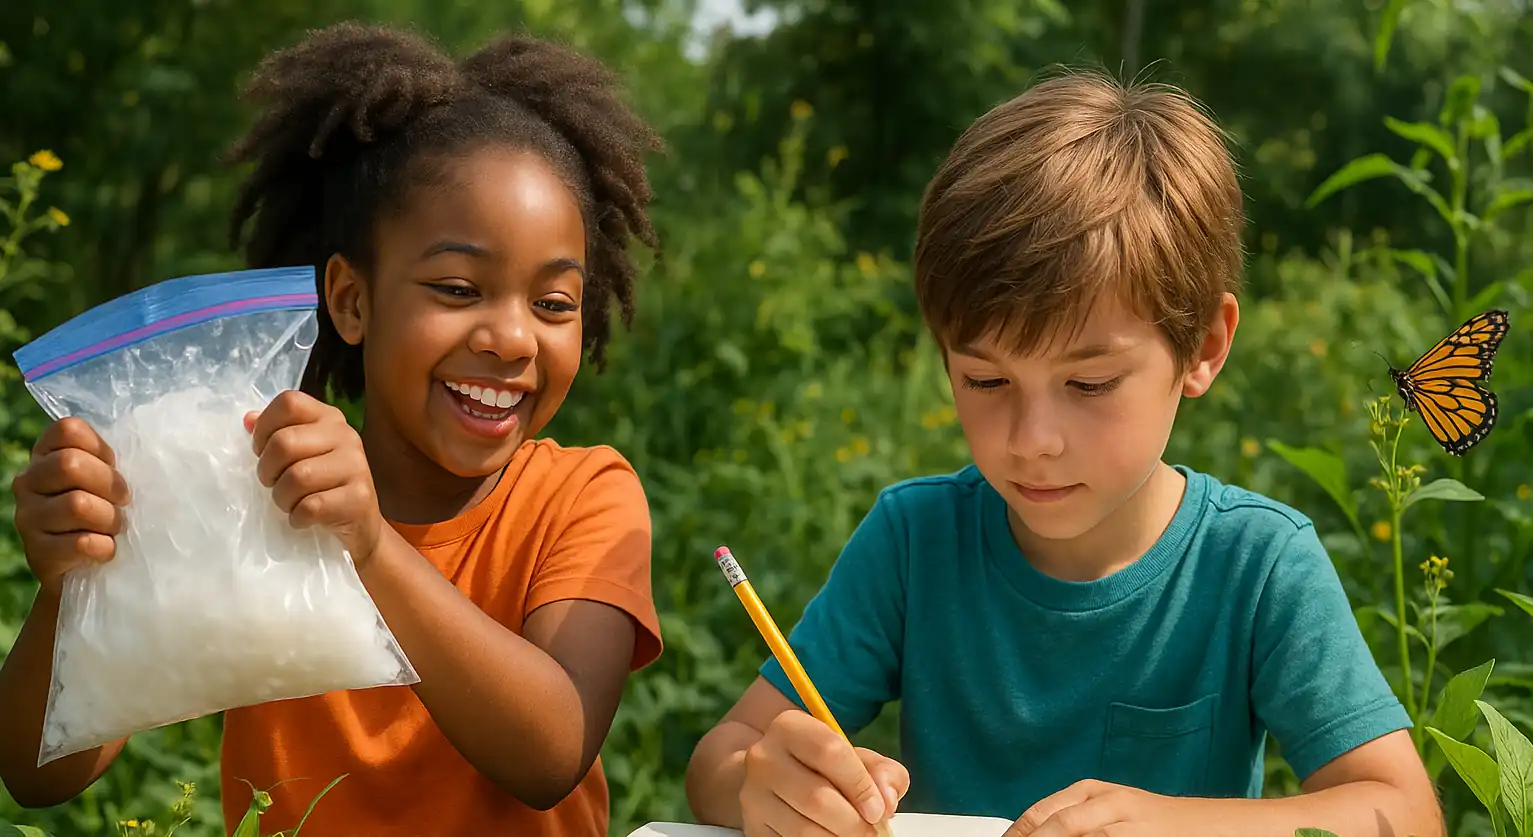
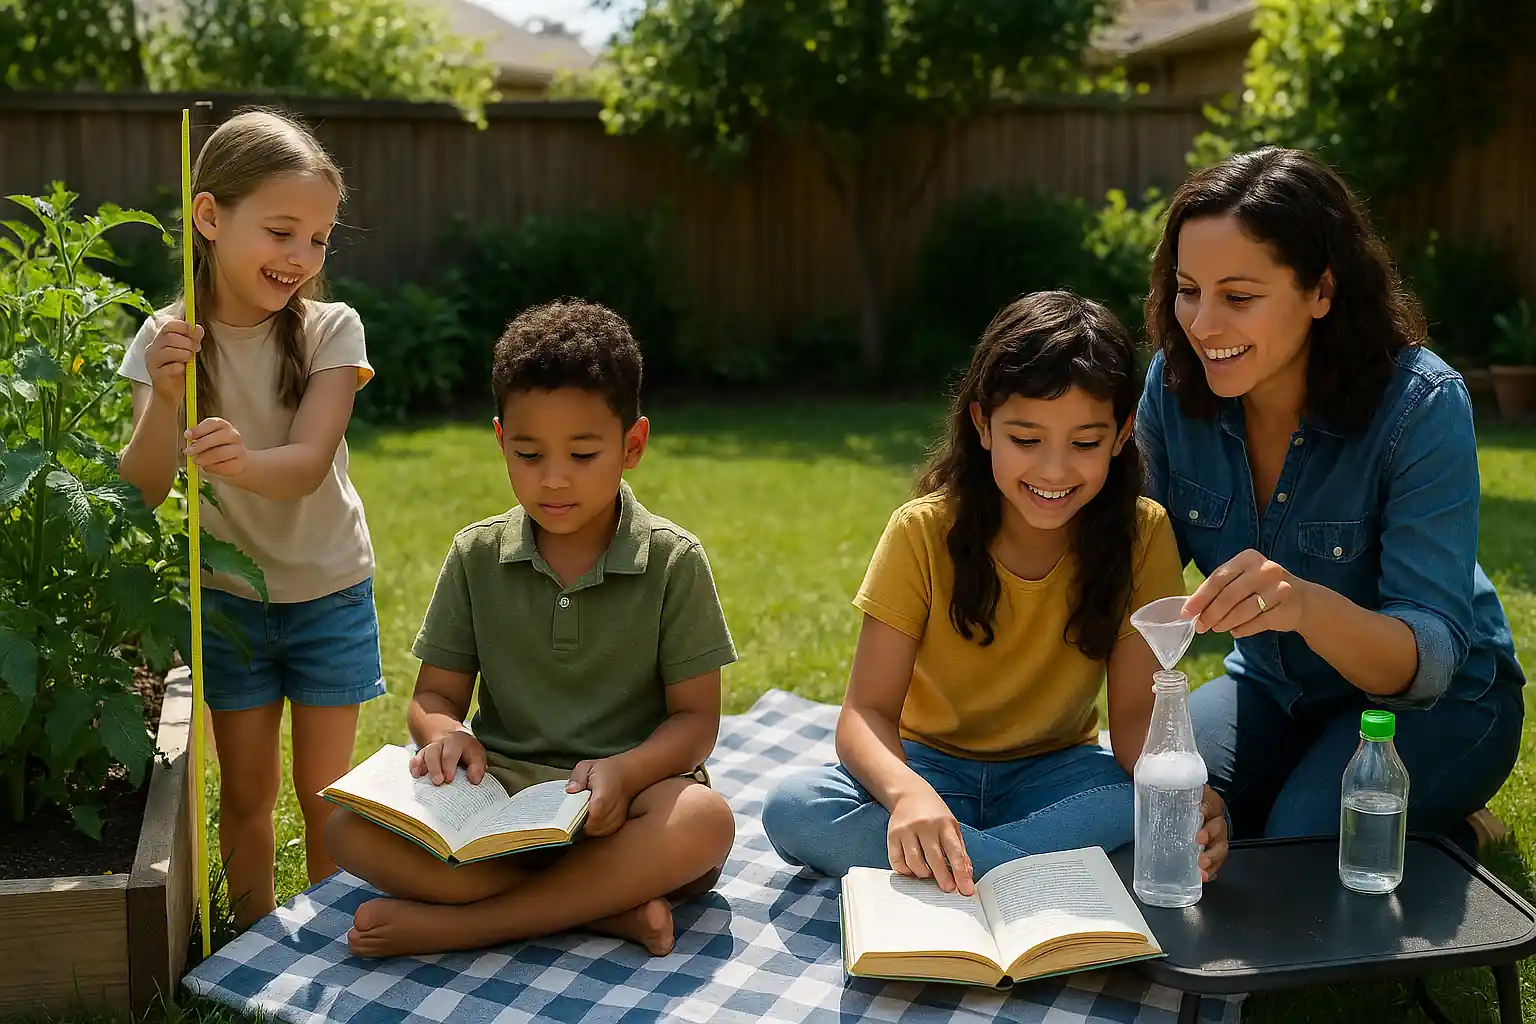
Activity 2: Backyard Nature Explorers (Nature Journal and Scavenger Hunt)
Overview: Transform your backyard or local park into a science lab with a nature exploration and journaling activity. Kids will go on a mini 'safari' to observe plants, insects, birds, and other natural phenomena, then record their findings in a homemade nature journal. To add structure and fun, include a scavenger hunt list of nature items to find: e.g., a feather, a seed or pinecone, signs of an animal (like tracks or chewed leaves), three different shapes of leaves, a spider web, etc. This encourages them to look closely at their environment. Over the summer, they can make regular entries in the journal, noting how a particular plant grows or how the landscape changes. This activity is highly adaptable: a third grader might draw a picture of a ladybug and label the parts, whereas an eighth grader might write a paragraph about an interesting bird’s behavior or even graph the daily temperature. It combines physical activity (walking, exploring outdoors) with scientific observation and a bit of writing/art.
Why it works for grades 3 to 8: Children in this age group are at a perfect stage to develop observational skills and an appreciation for nature. Younger kids (8–10) are often inquisitive about living things; they love collecting bugs, picking flowers, and asking questions about animals (as noted by child development experts, kids around 9–11 have 'a lot of natural curiosity about living things'). This activity leverages that curiosity by turning it into a little project. It also gives them a sense of adventure and discovery, which is very engaging at that age (like a mini treasure hunt combined with being a scientist). Older kids (11–14) might initially think they’ve 'seen it all' in the backyard, but once they start looking deeply, they often get hooked; spotting a new bird or weird bug can spark excitement even in a teen. Importantly, this activity meets them at their level by offering autonomy (they choose what to write or sketch), and it can grow into a more sophisticated project for them (like researching and identifying species they find). It also caters to a wide range of interests: artistic kids will enjoy drawing, analytical kids might enjoy making lists or classifications, and energetic kids benefit from the outdoor time to burn off energy.
Materials
A notebook or homemade journal: For a homemade version, you can staple or tie together blank pages with a construction paper cover. Or use a sketchbook or composition notebook. If possible, choose unlined or half-lined paper for flexibility (drawing and writing).
Basic writing and drawing supplies: pencils, colored pencils or crayons, maybe a magnifying glass to examine things up close, glue or tape (if they want to tape in a small flat specimen like a leaf or flower, pressing flowers is an option with supervision).
Scavenger hunt list: a prepared list of things to find or observe. Customize to your area and your child’s level. Some ideas: something rough, something smooth, two kinds of seeds, an animal track, a specific color flower, a bird, an insect, evidence of insect feeding (holes in leaves), a symmetrical leaf, a lizard or frog (depending on region), a cloud shaped like something (to include a sky observation).
Reference materials (optional): A field guide or a nature app (like Seek by iNaturalist) for identifying what you find, depending on the child’s interest. Many kids love using apps that can identify plants or insects from photos (Seek is a child-friendly one that doesn’t require an account and encourages learning about species).
Container or bag: if you plan to collect some samples (e.g., a small jar for a bug briefly, or a bag to hold leaves and rocks to examine).
Camera (optional): Kids might enjoy taking photos of their findings to either print for the journal or just to have. Even a simple smartphone camera (with parent’s help) works, or a cheap digital camera for older kids to use independently.
Sun protection and appropriate attire: since this involves outdoor exploration, make sure to have sunscreen, hats, bug spray, closed-toe shoes if wandering in brush, etc., so the experience is comfortable.
Instructions (Step-by-Step)
Set Up the Nature Journal: Help your child personalize their nature journal. They can decorate the cover with drawings or the title “Summer Nature Journal: [Name]’s Discoveries.” Explain that this will be their science field book for the summer. Inside, you can reserve the first page for a Table of Contents or an ongoing species list if desired (older kids might like that). If using a binder or folder, include sections like “Plants,” “Insects,” “Weather,” etc., but a simple notebook is fine. Emphasize that they can write and draw in it, tape in leaves, or even make rubbings (placing a leaf under a page and coloring over to see the imprint).
Scavenger Hunt Walk: Start with a purposeful nature walk armed with the scavenger list. Go out into the backyard or a safe natural area nearby (a park, trail, or even an overgrown vacant lot can yield surprises). If you’re in an urban environment, adjust the list to what can be found (pigeons, weeds in a sidewalk crack, cloud observations, etc.). As you walk, encourage the child to slow down and notice. For example, say “Let’s crouch here and look at the ground closely, what do you see moving?” They might find ants or beetles. Use the list as a guide but don’t worry if you don’t find everything; it’s about observing. When an item from the list is found, discuss it: “Great, you found a feather! What do you think it came from? Let’s note its color and size.” The child can either jot quick notes or sketches on the spot, or collect the item (when appropriate and safe: e.g., fallen leaf, feather*) to examine back at home. Note: Be cautious with feathers; they can carry germs, handle with a leaf or glove and wash hands, or just observe and photograph instead of keeping, depending on your comfort. Take pictures of animals rather than collecting, obviously.
Observation and Recording: After the active hunting, settle in a spot to do some more detailed observing and journaling. This could be sitting under a tree or back at a table with the found items. Encourage the child to pick one or two findings that excited them and record them in the journal. For instance: If they found a cool bug, they might draw it and label parts (“6 legs, green body, found under a log, think it’s a beetle”). If they have a magnifying glass, let them examine it (if it’s in a jar briefly, then release it). If they collected different leaves, they could tape them in and make notes (“Oak leaf: large with deep lobes, Maple leaf: 5 points like a star” etc.). Maybe do leaf rubbings too. If they observed a bird, they can write a short narrative: “Saw a red bird with a black face (maybe a cardinal) sitting on the fence at 8am. It was singing. Draw a little musical note.” The key is to encourage curiosity. If they ask, “What kind of rock is this?” you might say, “Hmm, maybe granite? Let’s write down its features (speckles, hard) and we can look it up later.” Older kids might enjoy classification: making a list of all animals seen, all plants identified, etc. They can even create charts (like a simple tally of bird types seen each week).
Reflect and Research: After the outdoor session, if the child is interested, do a bit of research together on one or two findings. For example, “We saw a lot of pill bugs (roly-polies). Why do you think they like dark, damp places?” You could look up pill bug facts (like they’re crustaceans, related to shrimp!) and note a fun fact in the journal. Or if an unfamiliar flower was found, use a field guide or app to identify it and write the name in the journal. This step caters especially to older kids who might crave the “answers” or deeper knowledge. It shows them how observation and research go hand in hand in science. Make sure to keep it fun, don’t turn it into a school report, just treat it like solving a little mystery or adding to their investigator credentials.
Make it a Routine: Encourage your child to add to the nature journal throughout the summer. Maybe set aside time once or twice a week for “nature time.” Each session can have a theme if you like: one day focus on insects, another day on clouds and weather (they could draw the cloud shapes and note weather patterns), another on soil and rocks, etc. The scavenger hunt list can change accordingly. You can also do nighttime observations: e.g., one night stargazing entry (sketch the moon’s phase, count how many stars visible, note any constellations). The journal will accumulate these entries, and it’s rewarding for kids to see how much they’ve observed. If you have multiple kids, they might enjoy comparing journals or helping each other (a younger sibling drawing while an older writes the captions, for example). At the end of summer, review the journal together, praising their detailed eye. Perhaps have them pick their favorite discovery of the summer. This not only reinforces their learning but could spark continued interest, maybe they’ll want to continue into fall or join a nature club at school.
Developmental insight: Getting kids outdoors and observing nature has benefits beyond science knowledge. Studies show it can improve concentration and reduce stress for children. Developmentally, it fosters patience and attention to detail. A child who sits quietly to watch a butterfly is practicing self-control and focused attention, skills that definitely help back in the classroom. For grades 3–5, this kind of exploratory learning is perfect because they are at the age of collecting and categorizing (many kids collect bugs, rocks, Pokémon cards; it’s all related!). This activity scratches that itch by letting them collect observations and maybe actual specimens. It also reinforces that science is not just lab experiments, it’s also observation, which is a foundational skill often honed in these years (teachers often have kids observe plant growth or weather; you’re extending that to a home context). For middle schoolers, it gives a bit of freedom and responsibility; they get to play scientist. Middle school science standards often emphasize inquiry and data collection; doing a casual version in summer keeps those skills fresh. Moreover, for any age, becoming more aware of the environment can nurture empathy and care for living things. A 12-year-old who carefully documented the robins nesting in the yard might feel more connected to nature and mindful of environmental issues. On a social level, if you join in as a parent, it shows that learning is a lifelong joy, not just schoolwork. And siblings doing it together practice teamwork (“You sketch the flower while I look up why it’s that color”). Importantly, this activity meets kids’ innate interests: as noted, many 9–11-year-olds love living creatures and have inquisitive minds about nature . Encouraging that can also boost their confidence in science; maybe the child who doesn’t love math will realize they do love science because of these nature experiences.
Online resources: If you want additional structure or ideas, look for "nature scavenger hunt printables". Many park services or homeschool blogs have ready-made checklists for different environments (forest, beach, city, etc.). The National Wildlife Federation's Ranger Rick website often has nature activity ideas tailored to kids. Another great resource is iNaturalist and its kid-friendly app Seek: with Seek, kids can point a smartphone camera at a plant or bug and get an identification; it's like Pokémon Go for real creatures, encouraging them to "collect" observations (the app gives badges for different types like observing 5 insects, 10 plants, etc.). For nature journaling inspiration, you might check out John Muir Laws' materials. He's an educator who provides free guides on how to keep a nature journal, including drawing tips (maybe more relevant for older or artistically inclined kids). Lastly, SciStarter and Citizen Science projects sometimes have summer projects kids can join (for example, counting butterflies for a national database). This could be an exciting extension for an older child, turning their backyard finds into real scientific contributions. For instance, The Great Sunflower Project asks people to observe pollinators in their yard for a certain period. Participating in something like that can make them feel part of a bigger scientific effort. With or without those additions, your Backyard Nature Explorers activity is sure to make science come alive this summer, quite literally!
Whether your child just tasted homemade vanilla straight from a zip bag or sketched the first ladybug of summer, each hands on discovery builds real world understanding and lasting confidence. Simple tools, big insights, and zero stress for you.
For more ideas that weave learning into everyday life visit our summer science guide for families. Want Kaizly to plan an entire season of personalized activities around your schedule and your child’s interests?
Tags
References
Ice Cream in a Bag: STEM Activity (2026). Ice Cream in a Bag: STEM Activity. https://www.sciencebuddies.org/stem-activities/ice-cream-bag
Ice Cream in a Bag Experiment Video (2026). Ice Cream in a Bag Experiment Video. https://www.youtube.com/watch?v=wGbh0uIR_4w
Bring Science Home Activities (2026). Bring Science Home Activities. https://www.scientificamerican.com/education-and-learning/bring-science-home/
Ranger Rick Nature Activities (2026). Ranger Rick Nature Activities. https://rangerrick.org/
Seek App for Kids (2026). Seek App for Kids. https://www.inaturalist.org/pages/seek_app
Getting Started With Nature Journaling (2026). Getting Started With Nature Journaling. https://johnmuirlaws.com/nature-journaling-starting-growing/
Citizen Science Projects for Families (2026). Citizen Science Projects for Families. https://scistarter.org/
Pollinator Observation Project (2026). Pollinator Observation Project. https://www.greatsunflower.org/

About Lindsay Carlson
Lindsay Carlson is a mom of three in elementary school. She's passionate about helping families support their kids' learning and growth at home.
Related Articles
Turn Summer Break Into Smart Fun with Personalized Activities
Discover 10 fun and easy summer learning activities for grades 3–8 that boost confidence, spark curiosity, and use everyday items
Read Article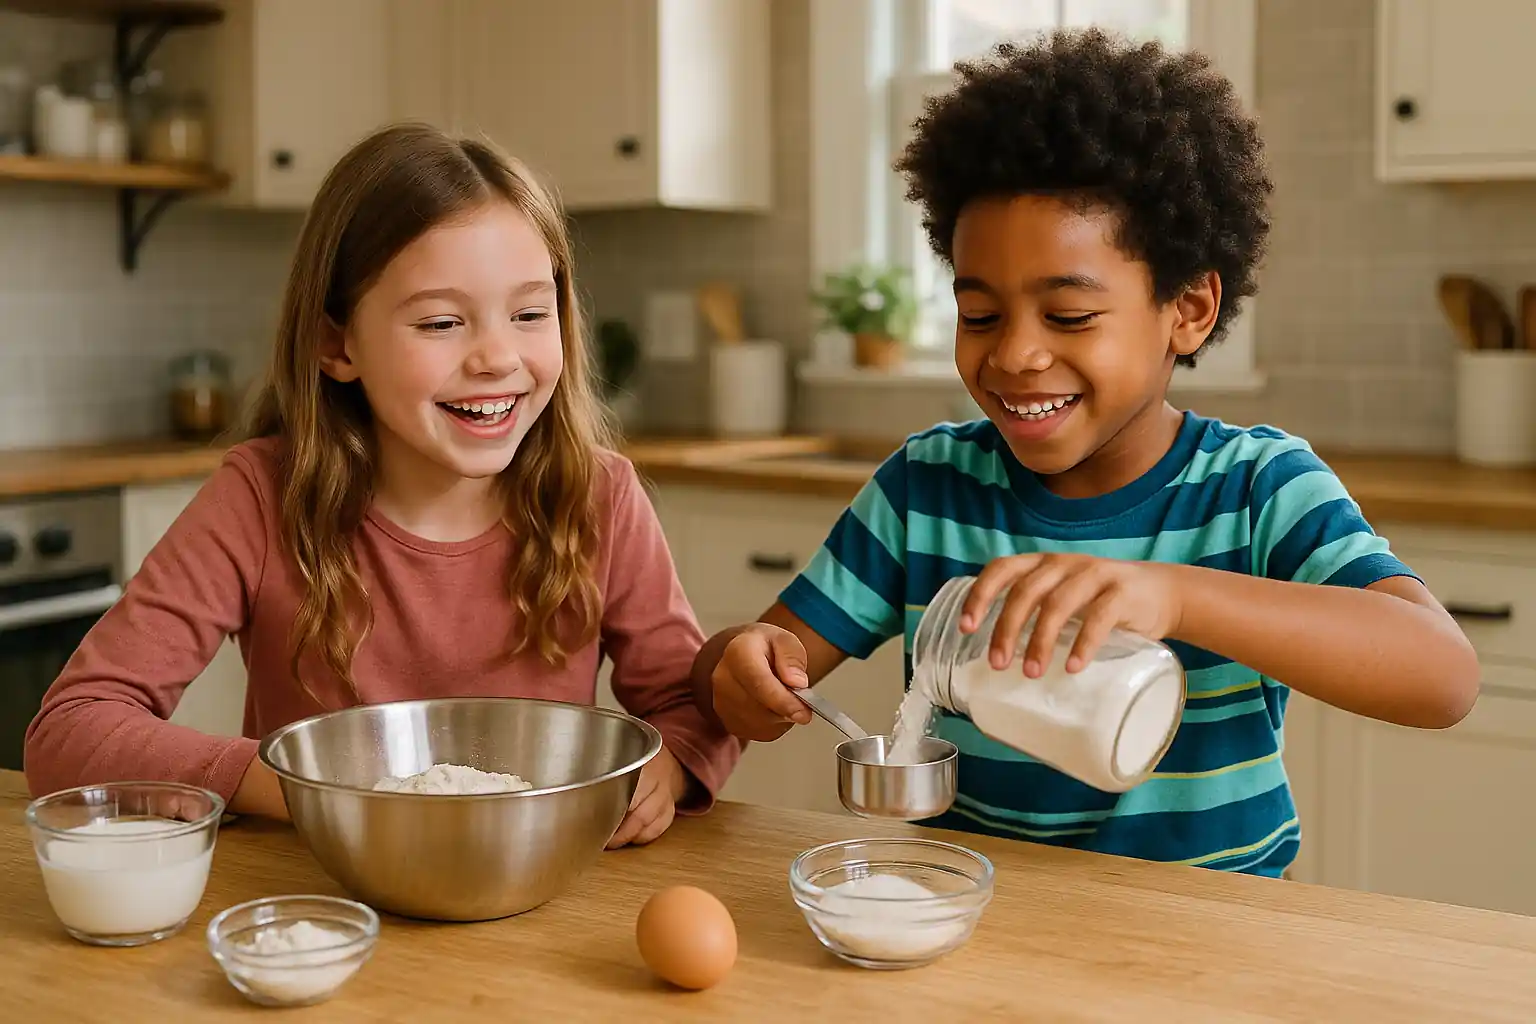
How to Choose the Best Math Activity for Your Child's Energy
Discover fun math activities tailored to your child's energy and interests during school breaks. Boost learning with scavenger hunts and kitchen cooking math.
Read Article
Summer Reading Bingo and Family Book Club Ideas for Grades 3-8
Engage kids with Summer Reading Bingo and Family Book Club ideas. Perfect for grades 3-8, blending fun reading challenges with meaningful family discussions.
Read ArticleShare this article
Kaizly uses cookies
Cookies make our site work properly and securely. By allowing us, you will get the best user experience with brand enriched content & relevant products and services.