Science Summer Activities: Ice Cream and Nature Explorers for Grades 3-8
Kids who practice the scientific method informally over summer return to school with stronger inquiry instincts. Two activities, ice cream in a bag and a backyard nature journal, cover it all for grades 3 to 8 with materials you already have.
Lindsay Carlson
Parent contributor
What You'll Learn
How two activities costing under $5 teach the scientific method without feeling like school, ice cream in a bag covers states of matter; a backyard journal builds observation and data-recording skills
Step-by-step instructions for grades 3 to 8, with grade-specific tips so a third grader and an eighth grader can do the same activity at different levels of depth
A quick-pick comparison table to match Ice Cream Science or the Nature Explorer Journal to your child's mood and energy on any given day
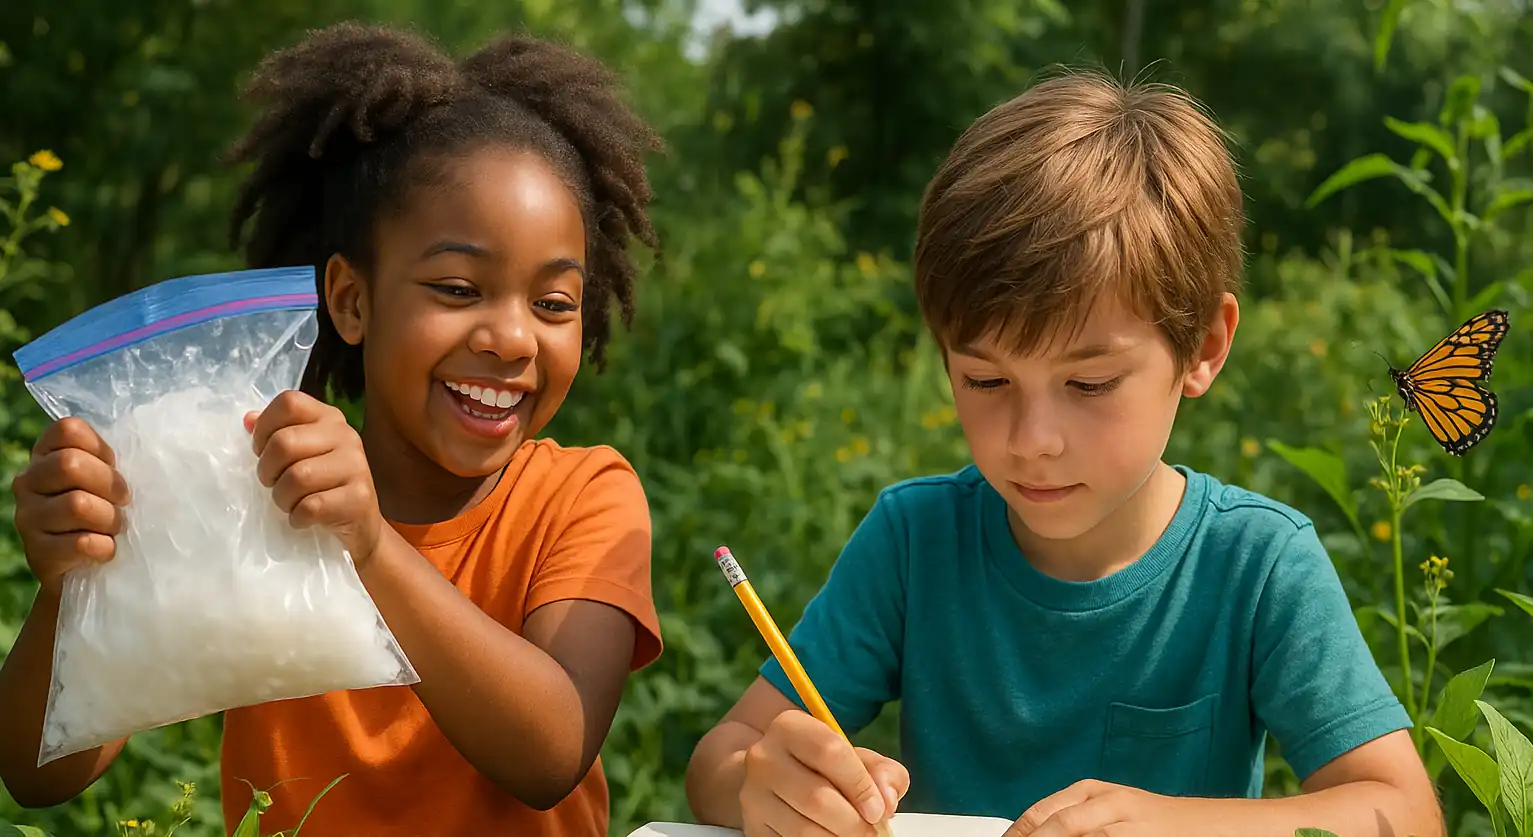
Science is one of the easiest subjects to keep alive over summer because your backyard is already a lab. Two activities, one in the kitchen and one outside, cover the scientific method from start to finish: a homemade ice cream experiment that teaches states of matter, and a backyard nature explorer journal that builds observation and data-recording skills. Both work for grades 3 to 8 with what you already have at home.
Homemade Ice Cream Science Experiment – shake up dessert while learning how salt and ice create a super-cold bath that turns liquid cream into sweet science
Backyard Nature Explorers – turn a local green space into a living lab with a journal and scavenger hunt that reveal the hidden wonders of plants and creatures
Quick Pick Guide for Busy Parents
| Ice Cream Science | Nature Explorers | |
|---|---|---|
| Energy level | High energy shaking and quick reward | Calm observation and gentle movement |
| Prep time | Five minutes to gather kitchen staples | Ten minutes to craft a journal and list |
| Mess factor | Cold drips, easy wipe up | Bits of dirt or leaves, low cleanup |
| Learning focus | States of matter, freezing point, experimentation | Observation, classification, eco awareness |
| Parent role | Supervise shaking, discuss results | Guide questions, join the walk |
Let your child's mood steer the choice. If they're eager to move and taste success, grab the ice cream bags. If they need a peaceful outdoor reset, pick up the journal and explore.
Activity 1: Homemade Ice Cream Science Experiment
What This Experiment Teaches
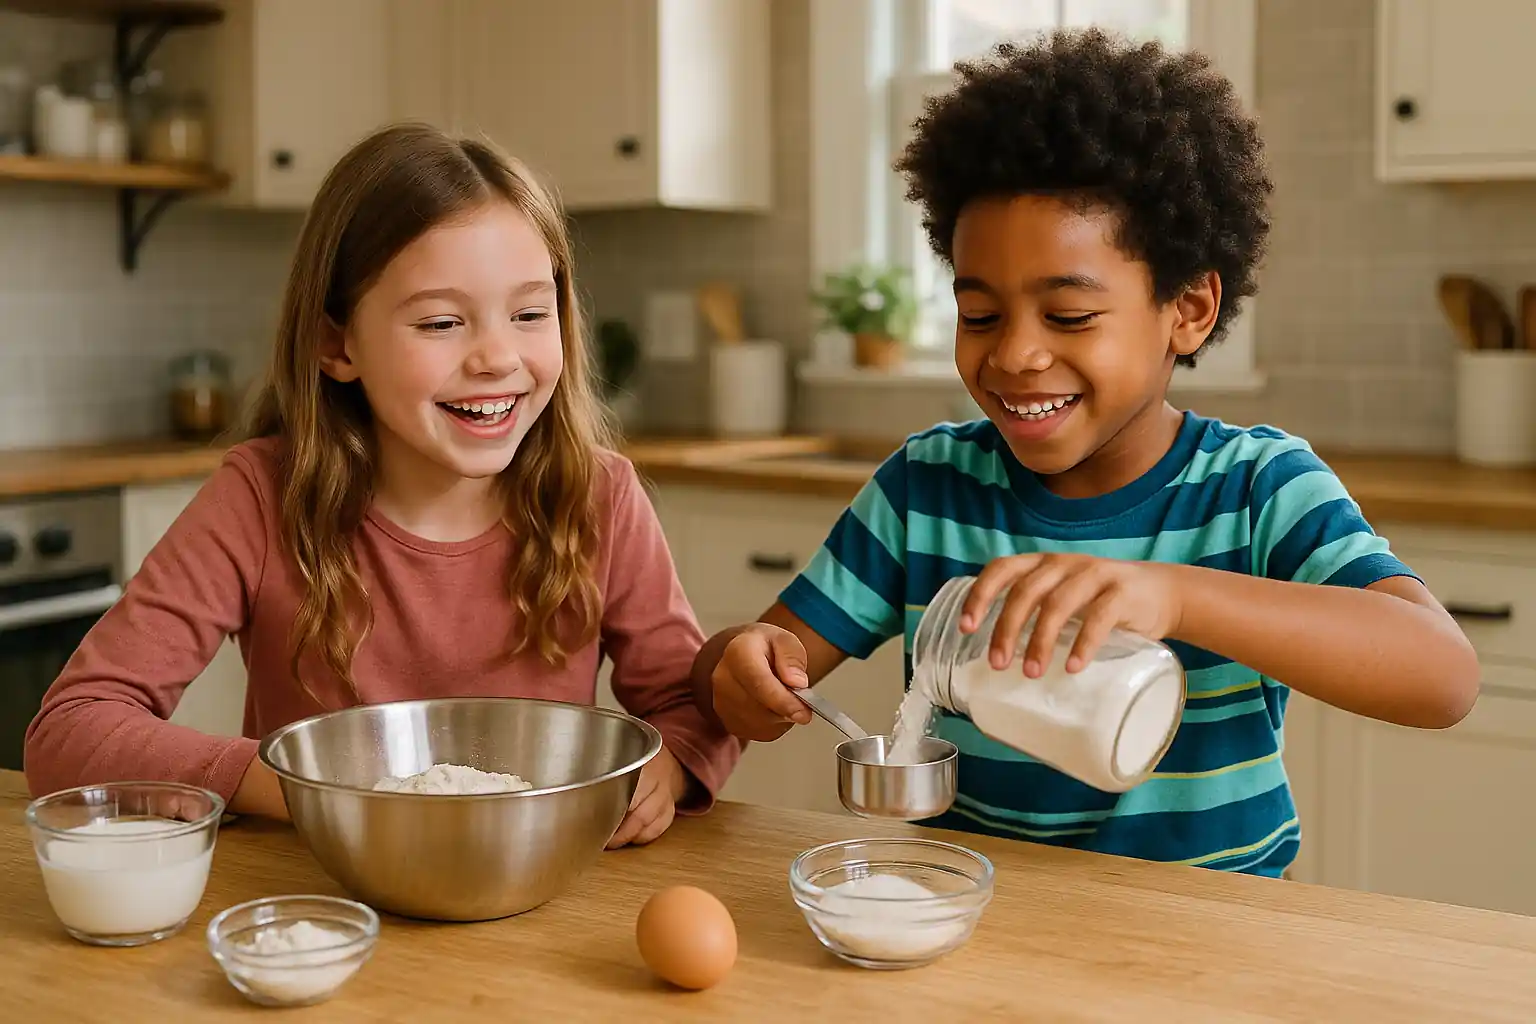
Combine science and dessert by making ice cream in a bag. This classic summer science activity demonstrates how salt and ice create a low-temperature environment that freezes milk into ice cream. Kids learn about freezing point depression (in simpler terms: why salt makes ice colder) and phase changes (liquid to solid), all while vigorously shaking a bag and then eating the results. It's a multi-sensory experiment: they'll feel the cold, see the liquid solidify, and taste the ice cream. This activity works for grades 3 to 8 with slight variations in depth: younger kids will marvel at making ice cream and note the basic changes, whereas older kids can measure temperatures or experiment with variables like how much salt to use.
Why It Works for Grades 3 to 8
For third through fifth graders, this experiment hooks them into scientific thinking because it starts with a question: How can we make ice cream without a freezer? They make predictions and observe outcomes. It's perfectly messy and physical for their stage. A brief burst of high-energy shaking is actually fun work for them. For middle schoolers, you can dig into the 'why' more deeply, introducing terms like 'freezing point' or having them read a thermometer to record the temperature of the ice bath before and after adding salt. Kids 11 to 14 are ready to connect the experiment to real-world uses, discuss why people put salt on icy roads in winter, it's the same science. Older kids can take on a leadership role, measuring ingredients precisely and researching the science beforehand to explain to siblings. The reward aspect (tasty ice cream) keeps even a jaded eighth grader interested.
Materials for the Ice Cream Experiment
One cup half-and-half or whole milk (for a richer treat, use half cream, half milk)
Two tablespoons sugar
Half teaspoon vanilla extract (or another flavor extract if preferred)
Six cups ice (crushed or cubed)
One-third cup salt (rock or kosher preferred, but table salt will do)
One pint-size zip-top bag and one gallon-size zip-top bag
Towel or oven mitts (to protect hands from cold)
Thermometer (optional, for measuring temperature of the ice bath, good for helping older kids quantify the change)
Timer (optional, for timing the shaking)
Mix-ins such as chocolate chips or sprinkles (optional, for extra flavor)
How to Do the Ice Cream Experiment
Combine Ingredients in a Small Bag: Pour the half-and-half (or milk/cream mixture) into the small pint-size ziploc bag. Add the sugar and vanilla extract. Seal the bag tightly, squeezing out as much air as possible (excess air makes it harder to freeze and the bag might pop open). You now have a sealed bag of sweet milk, the base for your ice cream. If doing this with multiple kids, each can make their own small bag, just multiply the ingredients per bag.
Prepare the Ice-Salt Mix: In the large gallon-size Ziploc bag, put about 4 cups of ice to start (around halfway full). Sprinkle 1/3 cup of salt over the ice. Place the sealed small bag (with the mix) into the large bag on top of the ice. Then add another couple of cups of ice so that the small bag is surrounded by ice on most sides. Press out extra air from the large bag and seal it tightly.
Shake it Up: Now the fun part, wrap the bag in a towel (or wear mittens/oven mitts) to keep your hands from freezing, and shake, shake, shake! You'll need to shake continuously for about 5 to 10 minutes. You can also gently massage or flip the bag; the goal is to keep that ice and salt moving around the little bag, freezing it evenly. You'll notice after a few minutes that the small bag's liquid is starting to thicken. If the ice melts a lot or it's not freezing after 5 minutes, add more ice and a bit more salt, then continue. For older kids, this is a great time to discuss what's happening: The salt lowers the freezing point of water, meaning the ice water can get colder than 32°F (0°C), and that extra-cold saltwater is what's freezing the ice cream. They can measure the temperature with a thermometer for a mini-experiment: before adding salt vs. after (they'll see the temp drop).
Check and Enjoy: After about 7 to 8 minutes of good shaking, open the outer bag and peek at the inner bag. It should have a firmer consistency, a scoopable soft ice cream. If it's still too liquid, seal everything up and shake for a few more minutes. Once ready, take the small bag out. Rinse the outside quickly with cold water (this washes off any salt so it doesn't get into your ice cream when opening). Open it up, voila, ice cream! Pour it into a bowl or eat it straight from the bag. Add any desired toppings or mix-ins.
Discuss the Science: As you enjoy the treat, talk about what happened. For younger kids: 'Salt makes the ice even colder! When salt touches ice, it makes the ice melt, but in doing so it steals heat from around it, which made our creamy mix so cold it froze.' For older kids: 'Normally water freezes at 32°F. Salt lowers the freezing point, so the ice-salt mixture can go below 32°F without fully turning to liquid. That super-cold slush absorbs more heat from the ice cream mixture, freezing it. This is called freezing point depression, the same reason salt is used on winter roads.' If you took temperature readings, discuss those results. Also note the physical change: liquid milk became solid ice cream, a phase change from liquid to solid.
Cleanup: Have the kids help with cleanup as part of the experiment process (learning responsibility in labs is a good habit, after all!).
Developmental Impact
This simple experiment hits several developmental sweet spots. Children are naturally inquisitive about how things work, and by grade 3 they can start understanding cause and effect. Making ice cream is cause-and-effect in action, 'I did X and Y happened.' For the younger end, it's mostly a sensory delight and a straightforward lesson that mixing certain things can cause big changes (liquid to solid). For older kids, it provides a concrete example of an abstract concept (freezing point depression) they might not formally encounter until later, but experiencing it now gives them a reference point. Research on inquiry-based science education shows that students who engage in hands-on experimentation retain science concepts 20-30% longer than those taught through lecture alone (Minner et al., 2010). The experiment also encourages patience and following steps in order. Many kids in the 9 to 12 range enjoy the role of scientist or chef, here they get to be both. You'll often see them taking pride in explaining the process to someone else afterward, which reinforces their own learning.
Online Resources
The procedure for ice cream in a bag is widely used in school science camps. For additional guidance, the Science Buddies article on this experiment provides background science and experimental variations (such as comparing different salt types). If your child gets into it, a short YouTube video of the process can reinforce what they learned. For more kitchen science, look up 'edible science experiments', making butter by shaking cream in a jar, solar oven s'mores. Scientific American's 'Bring Science Home' also provides many fun experiments to try.
Activity 2: Backyard Nature Explorers (Nature Journal and Scavenger Hunt)
What the Nature Explorer Activity Teaches
Transform your backyard or local park into a science lab with a nature exploration and journaling activity. Kids go on a mini 'safari' to observe plants, insects, birds, and other natural phenomena, then record their findings in a homemade nature journal. To add structure and fun, include a scavenger hunt list of items to find: a feather, a seed or pinecone, signs of an animal (like tracks or chewed leaves), three different shapes of leaves, a spider web. This encourages them to look closely at their environment. Over the summer, they can make regular entries, noting how a particular plant grows or how the landscape changes. This activity is highly adaptable: a third grader might draw a ladybug and label the parts, whereas an eighth grader might write a paragraph about a bird's behavior or graph daily temperature.
Why It Works for Grades 3 to 8
Children in this age group are at a perfect stage to develop observational skills and an appreciation for nature. Younger kids (ages 8 to 10) are often inquisitive about living things, they love collecting bugs, picking flowers, and asking questions about animals. This activity turns that curiosity into a little project. It gives them a sense of adventure and discovery, like a mini treasure hunt combined with being a scientist. Older kids (ages 11 to 14) might initially think they've 'seen it all' in the backyard, but once they start looking deeply, they often get hooked, spotting a new bird or unusual bug can spark excitement even in a teenager. This activity meets them at their level by offering autonomy (they choose what to write or sketch), and it can grow into a more sophisticated project for them, such as researching and identifying species they find.
Materials for the Nature Explorer Journal
A notebook or homemade journal: For a homemade version, staple or tie together blank pages with a construction paper cover. Or use a sketchbook or composition notebook. If possible, choose unlined or half-lined paper for flexibility (drawing and writing).
Basic writing and drawing supplies: pencils, colored pencils or crayons, maybe a magnifying glass to examine things up close, glue or tape (if they want to tape in a small flat specimen like a leaf or flower, pressing flowers is an option with supervision).
Scavenger hunt list: a prepared list of things to find or observe. Customize to your area and your child's level. Some ideas: something rough, something smooth, two kinds of seeds, an animal track, a specific color flower, a bird, an insect, evidence of insect feeding (holes in leaves), a symmetrical leaf, a cloud shaped like something.
Reference materials (optional): A field guide or a nature app (like Seek by iNaturalist) for identifying what you find. Many kids love using apps that can identify plants or insects from photos, Seek is a child-friendly one that doesn't require an account.
Container or bag: if you plan to collect some samples (a small jar for a bug briefly, or a bag to hold leaves and rocks to examine).
Camera (optional): Kids might enjoy taking photos of their findings to print for the journal or just to have. A smartphone camera works fine, or a cheap digital camera for older kids to use independently.
Sun protection and appropriate attire: sunscreen, hats, bug spray, closed-toe shoes if wandering in brush, so the experience is comfortable.
How to Run the Nature Explorer Journal
Set Up the Nature Journal: Help your child personalize their nature journal. They can decorate the cover with drawings or the title 'Summer Nature Journal: [Name]'s Discoveries.' Explain that this will be their science field book for the summer. Inside, you can reserve the first page for a Table of Contents or an ongoing species list if desired (older kids might like that). Emphasize that they can write and draw in it, tape in leaves, or even make rubbings (placing a leaf under a page and coloring over to see the imprint).
Scavenger Hunt Walk: Start with a purposeful nature walk armed with the scavenger list. Go out into the backyard or a safe natural area nearby. If you're in an urban environment, adjust the list to what can be found (pigeons, weeds in a sidewalk crack, cloud observations). As you walk, encourage the child to slow down and notice. When an item from the list is found, discuss it: 'Great, you found a feather! What do you think it came from? Let's note its color and size.' The child can jot quick notes or sketches on the spot, or collect the item (when appropriate and safe: a fallen leaf, a feather) to examine back at home.
Observation and Recording: After the active hunting, settle in a spot to do more detailed observing and journaling. Encourage the child to pick one or two findings that excited them and record them in the journal. If they found a cool bug, they might draw it and label parts ('6 legs, green body, found under a log, think it's a beetle'). If they collected different leaves, they could tape them in and make notes. If they observed a bird, they can write a short narrative: 'Saw a red bird with a black face sitting on the fence at 8am. It was singing.' The key is to encourage curiosity. Older kids might enjoy classification: making a list of all animals seen, all plants identified.
Reflect and Research: After the outdoor session, if the child is interested, do a bit of research together on one or two findings. 'We saw a lot of pill bugs. Why do you think they like dark, damp places?' Look up pill bug facts (they're crustaceans, related to shrimp!) and note a fun fact in the journal. If an unfamiliar flower was found, use a field guide or app to identify it. This shows them how observation and research go hand in hand in science, treat it like solving a little mystery.
Make it a Routine: Encourage your child to add to the nature journal throughout the summer. Maybe set aside time once or twice a week for 'nature time.' Each session can have a theme if you like: one day focus on insects, another day on clouds and weather, another on soil and rocks. You can also do nighttime observations: stargazing, sketch the moon's phase, count visible stars, note any constellations. At the end of summer, review the journal together and have them pick their favorite discovery of the season.
Developmental Impact
Getting kids outdoors and observing nature has benefits beyond science knowledge. Studies show it can improve concentration and reduce stress for children. A systematic review by Gill found that regular nature-based activities improve attention, reduce stress, and increase science achievement in school-age children (Gill, 2014). A child who sits quietly to watch a butterfly is practicing self-control and focused attention, skills that help back in the classroom. For grades 3 to 5, this kind of exploratory learning is perfect because they're at the age of collecting and categorizing (many kids collect bugs, rocks, cards, it's all related). This activity scratches that itch by letting them collect observations and maybe actual specimens. For middle schoolers, it gives a bit of freedom and responsibility, they get to play scientist. Middle school science standards often emphasize inquiry and data collection; doing a casual version over summer keeps those skills fresh. A 12-year-old who carefully documented the robins nesting in the yard might feel more connected to nature and more confident walking into a September science class.
Online Resources
For additional structure or ideas, look for 'nature scavenger hunt printables', many park services or homeschool blogs have ready-made checklists for different environments (forest, beach, city). The National Wildlife Federation's Ranger Rick website has nature activity ideas tailored to kids. Another great resource is iNaturalist and its kid-friendly app Seek: with Seek, kids can point a smartphone camera at a plant or bug and get an identification, it's like Pokémon Go for real creatures. For nature journaling inspiration, check out John Muir Laws' free guides on how to keep a nature journal, including drawing tips. SciStarter and the Great Sunflower Project offer citizen science projects kids can join, turning their backyard finds into real scientific contributions.
Whether your child tasted homemade vanilla straight from a zip bag or sketched the first ladybug of summer, each hands-on discovery builds real-world understanding. Simple tools, real science, and zero prep stress.
Tags
References
Ice Cream in a Bag: STEM Activity. Science Buddies (2024)
Ice Cream in a Bag Experiment Video. YouTube Channel (2024)
Bring Science Home Activities. Scientific American (2024)
Ranger Rick Nature Activities. National Wildlife Federation (2024)
Seek App for Kids. iNaturalist (2024)
Getting Started With Nature Journaling. John Muir Laws (2024)
Citizen Science Projects for Families. SciStarter (2024)
Pollinator Observation Project. The Great Sunflower Project (2024)
Inquiry-Based Science Instruction—What Is It and Does It Matter?. Journal of Research in Science Teaching (2010)
The Benefits of Children's Engagement with Nature. Children, Youth and Environments (2014)

About Lindsay Carlson
Lindsay Carlson is a mom of three school-age kids in Dallas. After watching her oldest fall behind coming back to 4th grade, she spent two summers testing low-prep learning activities that fit into real family life, not just Pinterest ideals. She writes about practical at-home learning for Kaizly.
Related Articles
How to Choose the Best Math Activity for Your Child's Energy
Discover fun math activities tailored to your child's energy and interests during school breaks. Boost learning with scavenger hunts and kitchen cooking math.
Read Article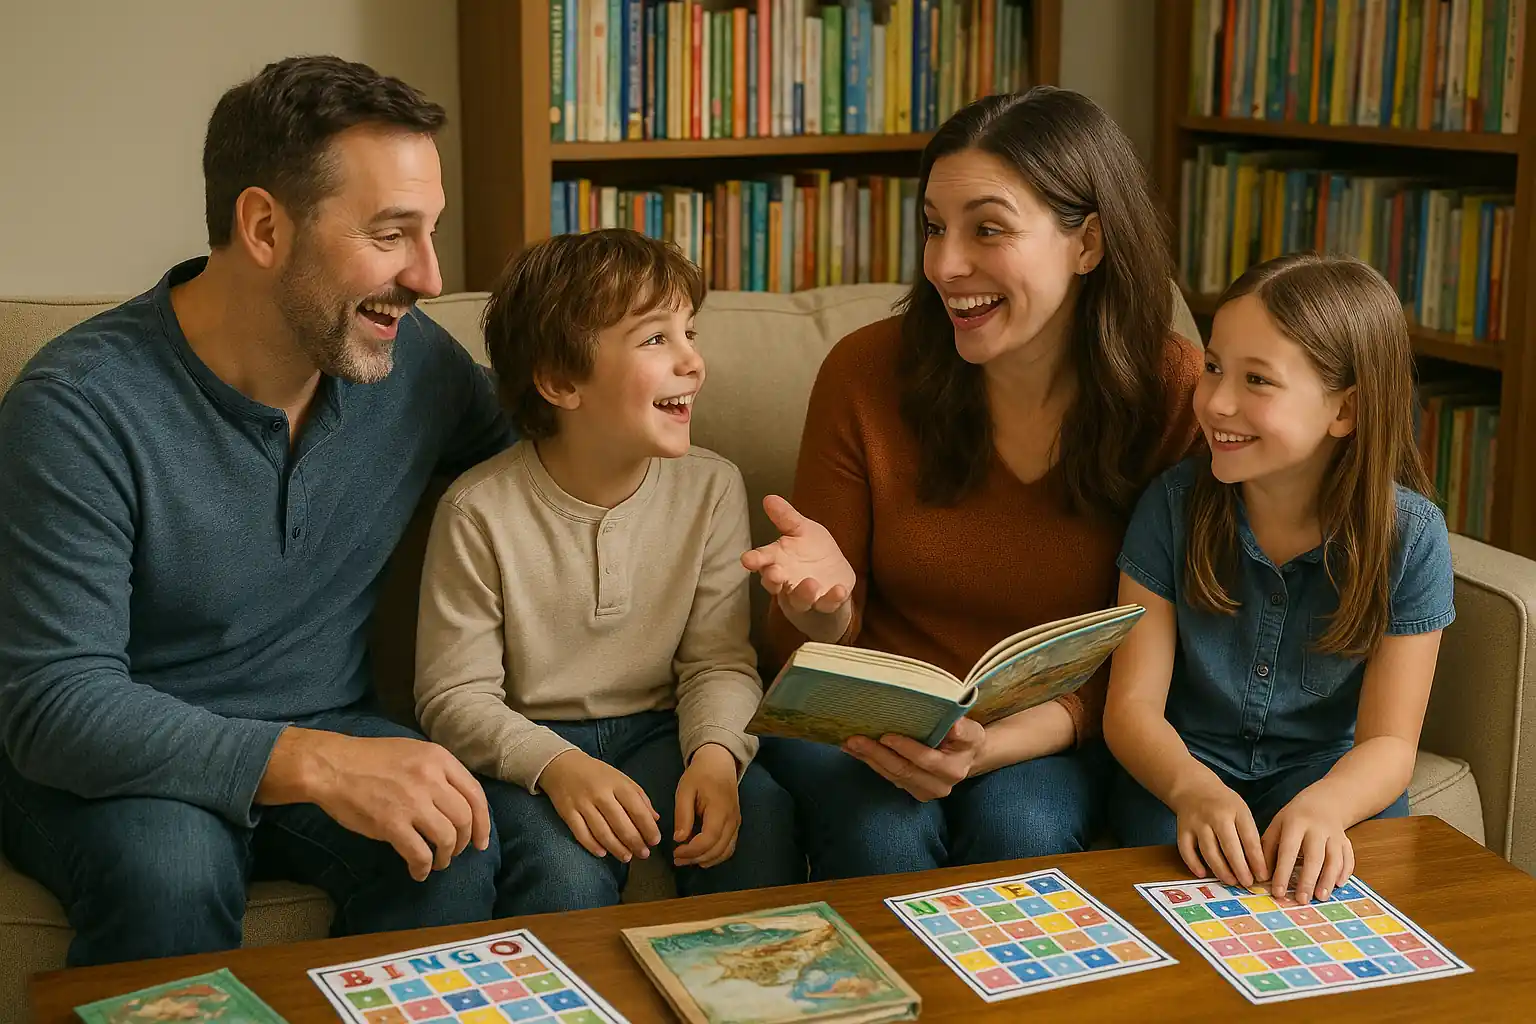
Summer Reading Bingo and Family Book Club Ideas for Grades 3-8
Engage kids with Summer Reading Bingo and Family Book Club ideas. Perfect for grades 3-8, blending fun reading challenges with meaningful family discussions.
Read Article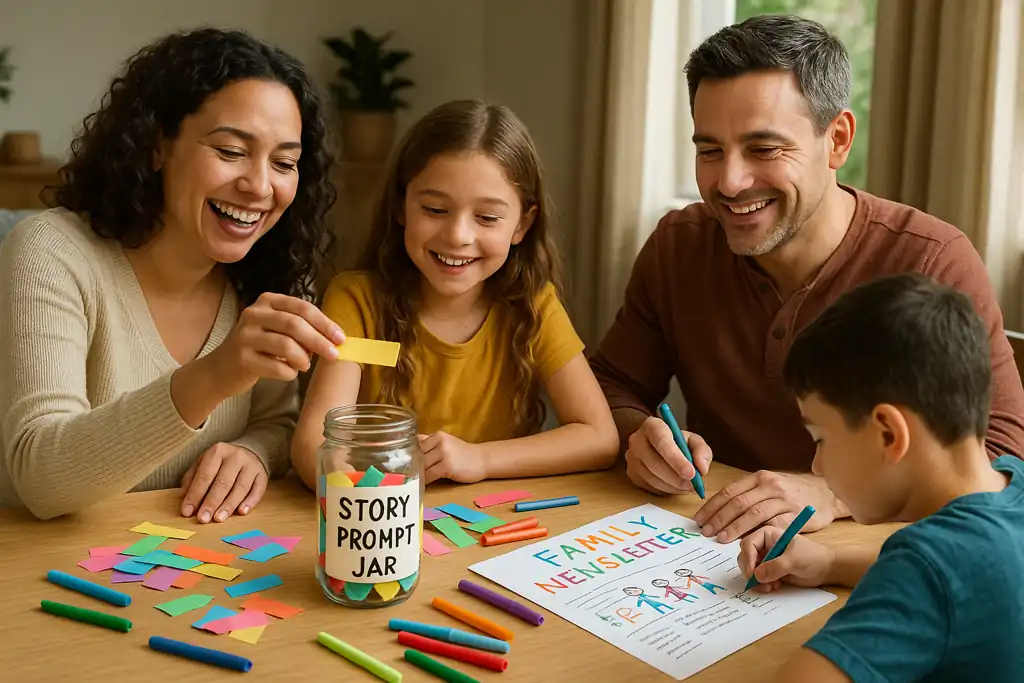
Spark Summer Creativity with Story Prompt Jar & Family Newsletter
Jump-start your child's imagination with a Story Prompt Jar and Family Newsletter. Fun summer writing activities for grades 3 to 8 that boost creativity and confidence.
Read ArticleShare this article